RECIPE
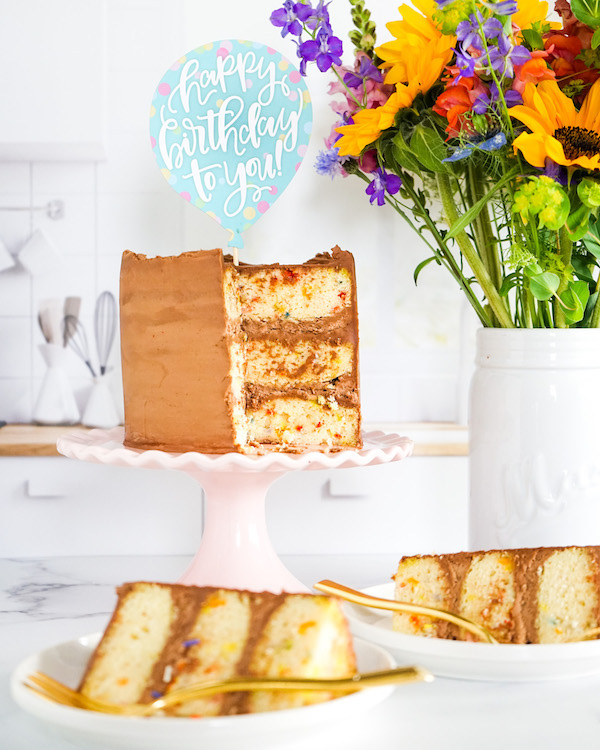
Funfetti Birthday Cake with Chocolate Buttercream
Growing up my mom always made a big deal about birthdays. I love doing the same thing for Jimmy and the kids. I am always looking for ways to make their day special, but on their birthday I want them to feel extra special. The kids get an option of a party or a trip or something that is about making memories. Unfortunately Isabella didn’t get an option because of Jimmy’s surgery two weeks before her birthday. So I went all out for Isabella’s birthday, especially her cake.
Funfetti is the perfect birthday cake in my eyes, it is like a celebration in a cake. Plus Sprinkles aka Jimmies make everything better in my book. To make it even more special, I added a layer of light and fluffy chocolate buttercream to it. I mean talk about delicious!! This is a melt in your mouth type of cake. There are so many reasons why I love this cake.
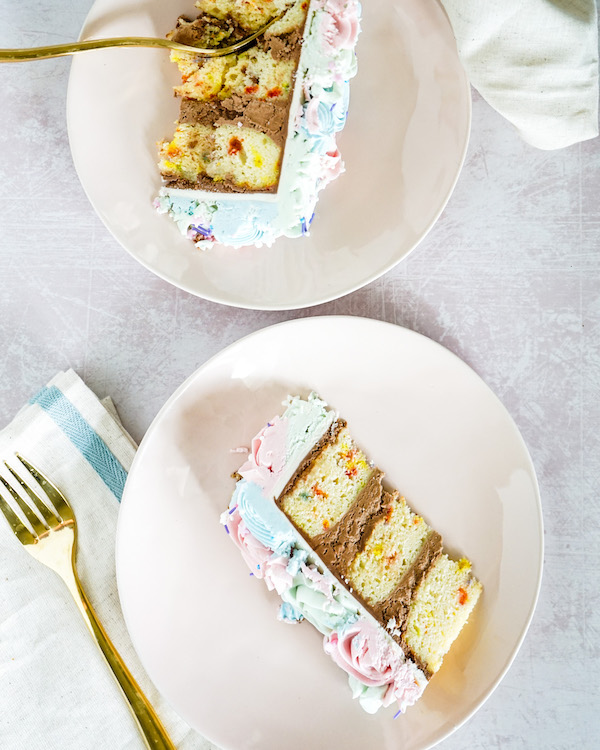
- So moist and buttery
- Light and fluffy, thanks to the eggs and egg white, I prefer Egglands Best Eggs
- A great vanilla taste, thanks to Watkins Vanilla
- So many sprinkles in this cake
- Chocolatey buttercream and/or My Signature Buttercream
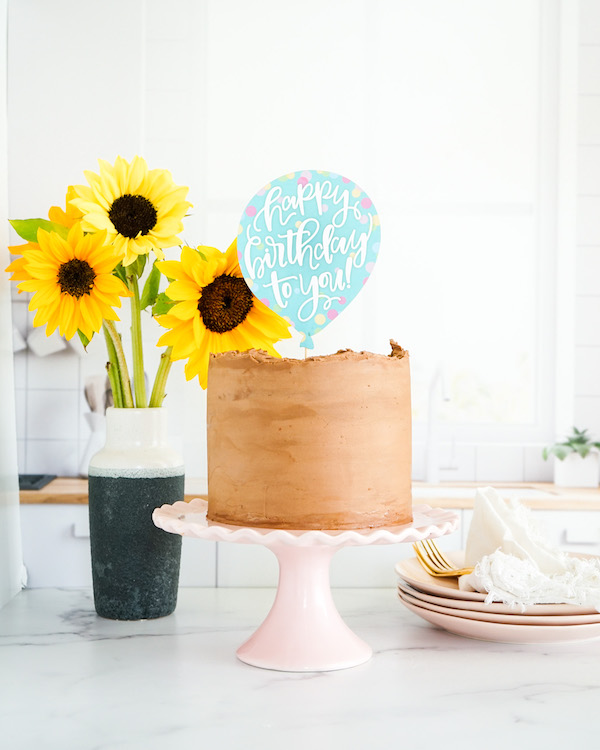
Key steps in making this cake. Because we all want to make a great cake, don’t we?
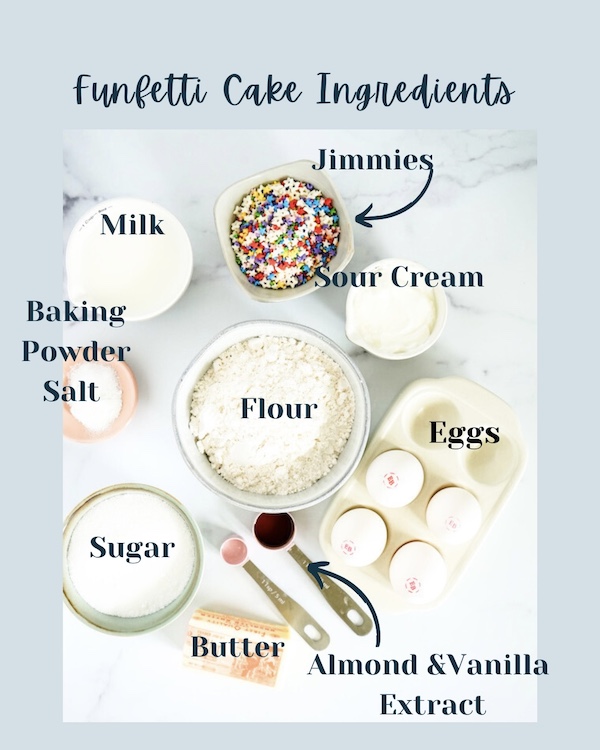
- Room temperature ingredients, they will incorporate more smoothly in the cake.
- Cream the butter and sugar until light and fluffy. This adds the volume to the cake and gives it the buttery taste.
- Mix the eggs and egg whites together, before slowly adding them to the cake. You need to make sure the eggs are really incorporated in the mixture.
- Don’t skip the vanilla, you want the true vanilla taste in the cake, it makes a huge difference.
- Make sure to alternate the dry ingredients with the milk. You want to start and finish with the dry ingredients. This helps to make sure everything is incorporated
- Over mixing a cake will cause the cake to sink in the middle and or make it dense. Don’t over mix the batter.
- Preheat your oven. You need your oven at the right temperature for more even baking. Also line the cake pans with parchment paper and grease with butter or use baking spray.
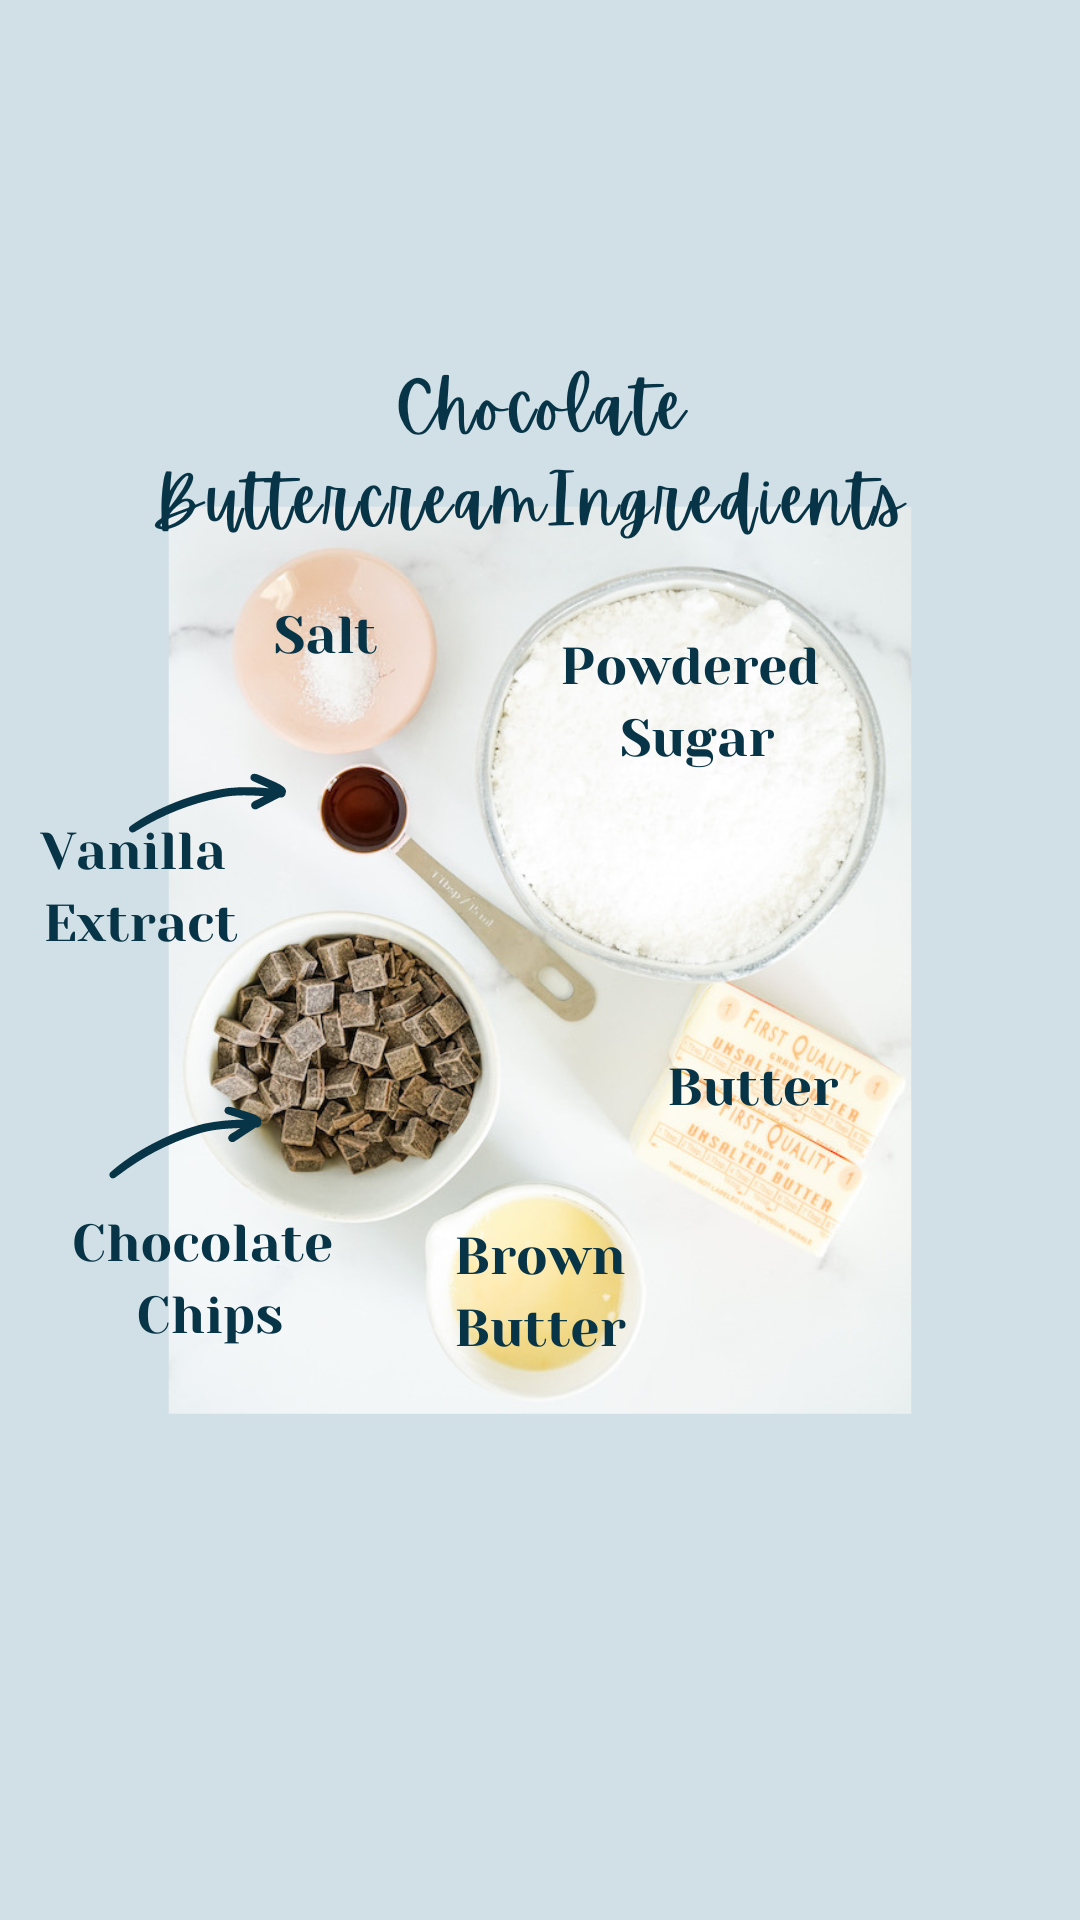
Tips for making the buttercream.
- Use some brown butter, trust me it is a must.
- All butter needs to be room temperature. You will cream all the butter until light and fluffy.
- Use sifted powdered sugar and cocoa. A lot of powdered and cocoa powder has clumps in it and you want to make sure they are out. The clumps won’t mix well and will make decorating the cake hard.
- I don’t usually use milk in my buttercream, but sometimes I will add some sour cream if the texture seems dry/tough. Sour cream will help make it smooth.
- Don’t forget the salt. You just a need a little bit, it enhances the flavor.
I personally like my cake cold, so I keep my cake in the refrigerator. You can store it at room temperature for 1 day or covered in the refrigerator for 5 days.
I hope you find all these tips helpful.
That’s What’s Baking From My Kitchen ????
Billie-Jo
Ingredients
- ½ cup unsalted butter room temperature
- 1 cup sugar
- 1 tsp almond extract
- 2 tsp vanilla extract
- 2 egg whites and 2 large egg room temperature mix together
- 1 ¾ cups all purpose flour sifted
- 1 ½ tsp baking powder
- ½ tsp salt
- ¾ cup milk room temperature
- ½ cup Daisy Sour Cream room temperature
- ⅓ cup all natural sprinkles
- Buttercream-½ cup brown butter, 1 cup butter room temp, 3 ¾ cups sifted powdered sugar, ½ melted chocolate chips, 2 tsp vanilla extract
Directions
- Preheat the oven to 350. Spray 3 6” cake pans with baking spray and line with parchment circles. Set aside.
- In a separate bowl whisk together flour, baking powder and salt, set the bowl aside.
- In a large mixing bowl, cream butter and sugar until light and fluffy. Should take about 4-5 minutes.
- Slowly add the egg mixture to the cream butter mixture. Make sure to scrape down the sides of the bowl. You want to make sure all the egg is mixed in.
- Add in the vanilla and almond extract and mix together.
- Add in the sour cream and mix until combined, it might look a little curdled and is okay.
- Add half the flour mixture and mix together, until little traces of flour remain.
- Mix in the milk, make sure to scrape down the sides of the bowl.
- Add in the remaining flour mixture, making sure everything is combined. Be careful not to overmix it.
- Add in the sprinkles and mix until combined.
- Divide evenly between 3 6” pans. I use a food scale to weigh my pans with batter. This helps with more even baking.
- Bake at 350 for 20-25 minutes.
- Allow the cakes to cool for 10-15, before removing my pan and placing cakes on a cooling rack. Once cakes are completely cooled, wrap in plastic wrap and place in the refrigerator for an hour or so to get chilled.
- While the cake is in the refrigerator, make a simple syrup if you plan to use it on your cake. I highly recommend using a simple syrup. It will help keep the cake moist for a few extra days.
- To make the buttercream. Melt the chocolate in your microwave in 20 second increments until melted. Let cool for about ten minutes. In a large mixing bowl with a paddle attachment, cream your butter and salt on medium speed until light and fluffy, about five minutes. While the butter is creaming, sift your powdered sugar. Add in your melted chocolate. Slowly add your powdered sugar, making sure it doesn’t go everywhere. Add in the vanilla, make sure to scrape down the sides of the bowl. Beat on medium speed for 2 minutes. Right before you are ready to decorate, take your spatula and mix together, making sure to get out the air bubbles if any.
- Brush each layer with simple syrup.
- On a cake stand or cake board, place on a small dab of frosting. Place one cake layer on the cake board. Add about one cup of frosting on top of that layer and spread evenly. Add your next layer with the bottom of the cake facing up. Add another cup of frosting and spread evenly. Next add your final layer with the bottom of the cake facing up, this is a flat so it will make frosting easier. Add frosting to the side of the cake. I prefer a long flat spatula on the sides. This helps to keep the cake straight and smooth. The first coat is your crumb coat. After your crumb coat is done, place the cake in the refrigerator for 30 minutes. Finishing decorating the cake as you desired.
Tips & Recommendations
Here are some of my favorite baking tools and ingredients for this recipe
Watkins vanilla extract and dye free sprinkles,
Offset Spatulas from Wilton
Ateco Cake turner and straight spatulas
